

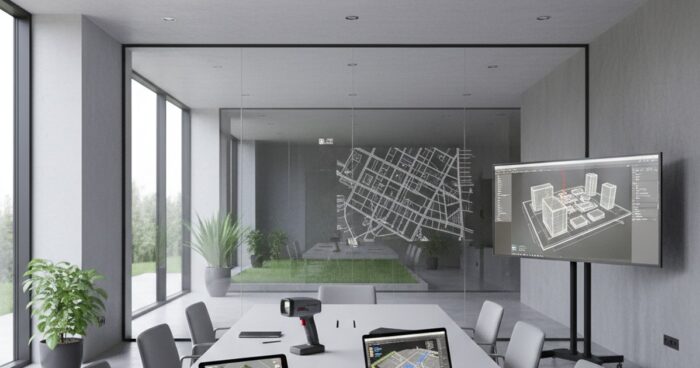
3D mapping of buildings and territories: laser scanning for precise measurements
3D mapping of buildings and territories: laser scanning for precise measurements Briefly: 3D mapping is the creation of an exact digital copy of an object using a laser scanner and a depth camera. The measurement error in the finished model is kept within 1–2 cm at a distance of up to 10 meters, which covers 90% of the tasks of reconstruction, design and area accounting. The guide will be useful to designers, architects, restorers, commercial property managers and anyone who needs accurate measurements without a week-long visit by a measurer with a tape measure. Let's take a step-by-step look at how we shoot objects in 360° Space - from preparing the site to issuing a point cloud and a walk-through tour. We’ll show you where 3D mapping really saves money, and where it’s better to choose a classic tacheometer. Step 1. Define the task and select equipment The first thing we ask the client is: what will you do with the model? Measurements for redevelopment, linking engineering systems, inventory, restoration project - each task has its own set of equipment and its own shooting density. For interiors up to 3000 m², we most often take Matterport Pro3 - it is a combination of lidar and panoramic camera. It provides a ready-made point cloud with an accuracy of about ±1 cm and at the same time a virtual tour, which the customer walks through in a browser. For facades, industrial sites and territories, we connect stationary scanners such as Leica BLK360 or FARO - we are already talking about millimeter accuracy and distances of up to 60 meters. A client from Kazan ordered mapping of a 4200 m² workshop with metal structures - they took a combination of Pro3 and BLK360, because they needed both precise beams for a crane beam and a tour for contractors. Step 2. Preparing the subject for shooting Preparation is half the battle. The laser sees everything: a bucket of water in the middle of the corridor, a stepladder, cables on the floor. All this will end up in the model and then you will have to clean it by hand. The day before departure, we send the client a checklist: open all doors, turn on the lights in all rooms, remove people and animals from the frame, close the mirrors (otherwise the scanner will get confused by reflections), check that there is no active construction work with dust. We mark glass partitions with masking tape - otherwise the lidar does not see them and “stitches” two rooms into one. When shooting a 600 m² restaurant in Moscow, we were asked to shoot at night, after closing - so we did, scanning took 4 hours instead of the expected six during the day with visitors. Step 3. Conduct scanning A survey point is placed every 2–2.5 meters in the interior and every 5–8 meters in the open area. One point is taken for 20–40 seconds - the scanner makes a 360° panorama and simultaneously measures the distance to all surfaces around. The average apartment of 80 m² is 25–30 points, work for 1.5 hours. Two-story house 300 m² - 90–120 points, 4–5 hours. An industrial building of 5000 m² is already a full day of filming with an assistant. We always shoot with a reserve: an extra 10–15 points in narrow places and on stairs saves us from “holes” in the cloud, which then cannot be sealed with anything. Step 4. Process the data and assemble the model After shooting, the data goes into cloud processing - stitching point clouds, constructing a polygonal mesh, generating a floor plan with automatic dimensions. For Matterport this takes 4-24 hours depending on the size of the property. For stationary scanners, processing is manual, longer - up to 3-5 working days. At the output, the client receives: a point cloud in E57, XYZ, PTS formats for loading into Revit, ArchiCAD, AutoCAD; floor plan in PDF and DWG with dimensions; and the virtual tour itself with a ruler tool - the customer himself can measure any distance directly in the browser. See all projects → Step 5. Select the format for posting the tour The model is there, the tour is assembled - where to store it? We have three options, and the choice depends on who and how often you will show it to. Cloud 360° Space - high-speed servers with technical support, suitable for most tasks: a link can be inserted into a website, sent in a messenger, embedded in CRM. Customer server - if the company has strict data requirements (government orders, sensitive facilities, banks), the tour is deployed on the client’s own infrastructure. Offline version - standalone build for PC or a separate build for the Oculus/Pico VR headset, works without the Internet. The latter option is often ordered for exhibitions and presentations: recently we assembled an offline build for a developer’s stand at a real estate forum in Sochi - the Internet there was down every 20 minutes, and the tour ran smoothly all day. Step 6. We check the accuracy and transfer the project. Before delivery, we take control measurements with a tape measure at 5–10 points and compare them with the model. A discrepancy of more than 2 cm at 10 meters is a reason to rescan the problem area. As a result, the customer receives a report with a real error for the object, and not a theoretical figure from the manufacturer’s brochure. Next is training: a 30-minute call, we show how to use a ruler, how to take screenshots with dimensions, how to upload a plan. We separately explain to designers how to import a point cloud into their CAD system without losing scale. Typical mistakes in 3D mapping Too sparse grid of shooting points. Saving 2 hours on shooting turns into “holes” in the cloud, which then cannot be filled without a second trip. Ignoring mirrors and glass. Lidar is reflected from mirror surfaces and creates phantom rooms. Always tape or remove mirrors before scanning. Shooting in low light. Even the lidar needs light for the panoramic camera - otherwise the tour will turn out dark and “noisy”, although the measurements will be correct. Lack of control measurements. The declared accuracy of a device and the actual accuracy on site are two different things. Without reconciliation with a tape measure, you do not know what you are giving to the client. Frequently asked questions What is the real accuracy of 3D mapping? For Matterport Pro3 - ±1–2 cm at a distance of up to 10 meters. For stationary Leica and FARO scanners - up to ±3 mm. Accuracy drops at long distances and when shooting through glass. How much does it cost to photograph an object? The cost depends on the area, the complexity of the geometry and the required delivery formats. We calculate the exact figure using a calculator or according to technical specifications - from an area of 100 m² in an apartment to industrial facilities of tens of thousands of meters. Can I use the model in Revit or AutoCAD? Yes, we send the point cloud in E57, XYZ, PTS - these formats are read by all major CAD systems. We also prepare floor plans in DWG with dimensions. Calculate costProject catalogMatterport